iter-png-2/gemini-2.5-pro / tier-1-mug
success tier 1
bare (gemini 2.5 pro)
render
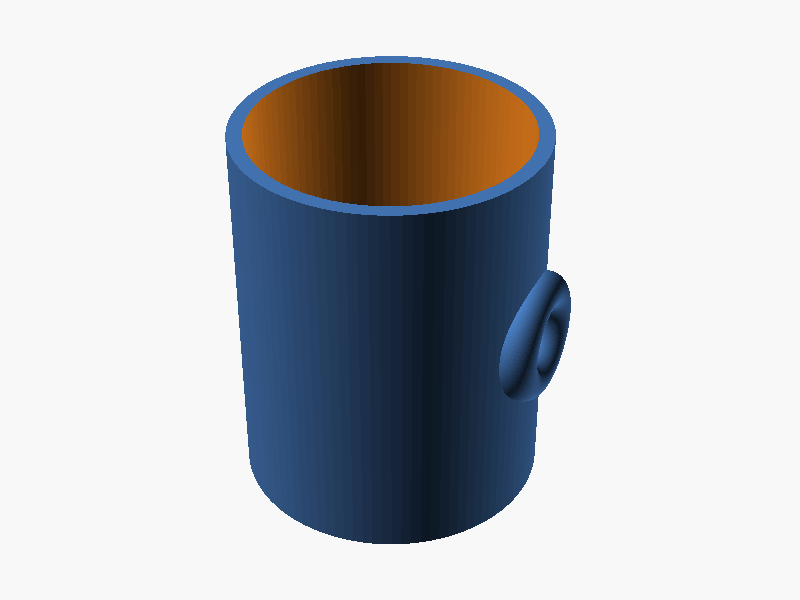
// --- パラメータ定義 ---

// マグカップ本体の寸法
outer_diameter = 80;      // 外径 (mm)
height = 100;             // 高さ (mm)
wall_thickness = 4;       // 側面の肉厚 (mm)
bottom_thickness = 6;     // 底面の厚み (mm)

// 取手の寸法
handle_radius = 12;       // 取手のリング全体の半径 (mm)
handle_pipe_radius = 5;   // 取手を構成するパイプの半径 (mm)

// 曲面の解像度
$fn = 100;


// --- モデル生成 ---

// 計算用変数
outer_radius = outer_diameter / 2;
inner_radius = outer_radius - wall_thickness;

// union() で本体と取手を結合
union() {

    // 1. マグカップ本体
    difference() {
        // 外側の円柱
        cylinder(h = height, r = outer_radius);

        // 内側をくり抜くための円柱
        // Z軸方向に底面の厚み分だけ移動させる
        translate([0, 0, bottom_thickness]) {
            // 高さを本体と同じか少し高くして、確実に上までくり抜く
            cylinder(h = height, r = inner_radius);
        }
    }

    // 2. 取手
    // 取っ手がカップ内部に突き抜けないように、内側の円柱でくり抜く
    difference() {
        // 2a. トーラス形状の取手本体
        // リングの中心が本体側面に接するように位置を調整
        translate([outer_radius, 0, height / 2]) {
            // リングの穴が側面と垂直になるようにY軸周りに90度回転
            rotate([0, 90, 0]) {
                // rotate_extrude を使ってトーラス(リング)を作成
                rotate_extrude(convexity = 10) {
                    // 回転軸からオフセットした位置に断面の円を描画
                    translate([handle_radius, 0, 0]) {
                        circle(r = handle_pipe_radius);
                    }
                }
            }
        }

        // 2b. カップの内側部分をくり抜くための円柱
        // 取っ手の高さに関わらず確実にくり抜けるよう、上下に十分な高さで作成
        cylinder(h = height * 2, center = true, r = inner_radius);
    }
}
パラメータ (6) —
スライダを動かすと openscad-wasm で再レンダリング
iteration chain
各 iteration step は独立した benchmark run です。parentRunId で前段にリンクします。
← parent 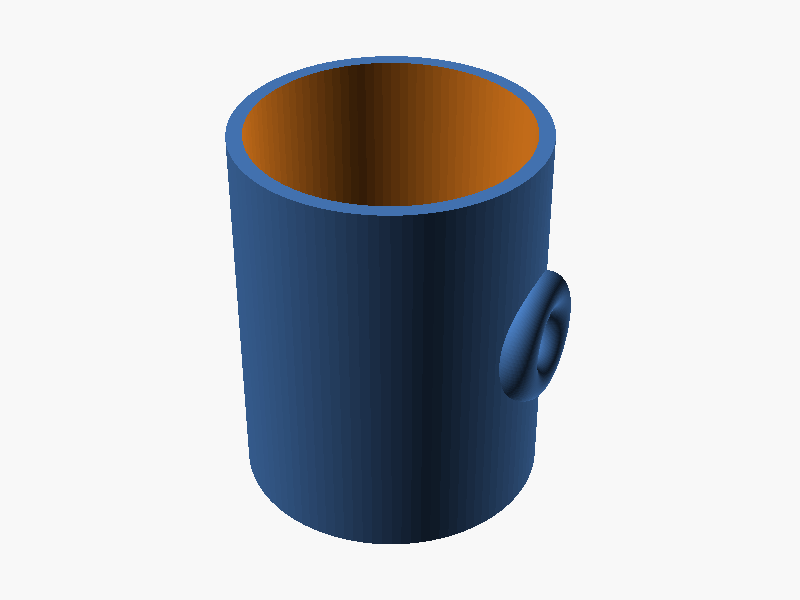
iter-png-1/gemini-2.5-pro success → children (1)
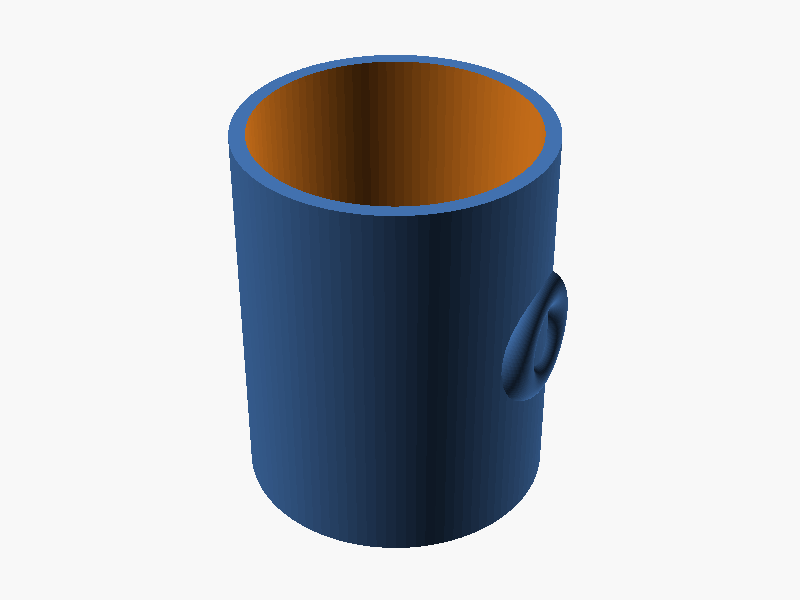
prompt
OpenSCAD で、外径 80mm、高さ 100mm、肉厚 4mm のマグカップを作ってください。
底面の厚みは 6mm とし、内側はくり抜いて飲み物を入れられる形状にしてください。
さらに、側面には外径方向に飛び出す半径 12mm の取手(リング状の取手)を付けてください。
取手はカップの中心高さあたりに付け、外周から十分にはみ出して指を通せる形にしてください。

完成したコード全体を ```openscad ... ``` のフェンスで囲んで出力してください。コードのみで、追加の説明は不要です。