iter-png-2/claude-opus-4-7 / tier-2-offset-handle-mug
success tier 2
bare (claude opus 4.7)
render
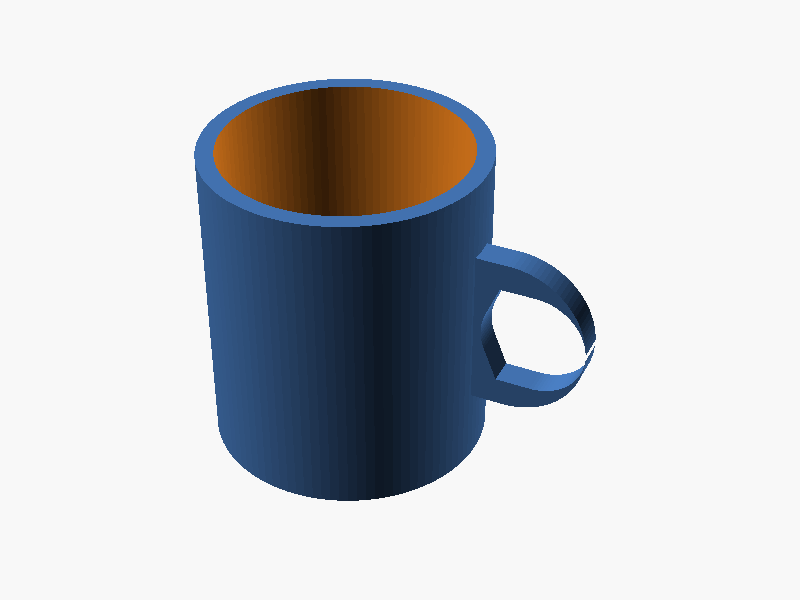
// マグカップ

$fn = 100;

// 本体パラメータ
outer_d = 80;
inner_d = 70;
height = 90;
bottom_thickness = 6;

// 取手パラメータ
handle_inner_h = 30;   // 取手内側の高さ(Z方向)
handle_inner_w = 25;   // 取手内側の幅(本体からの突き出し方向 = X)
handle_thickness = 8;  // 取手の太さ(Y方向の厚み)

module mug_body() {
    difference() {
        cylinder(d = outer_d, h = height);
        translate([0, 0, bottom_thickness])
            cylinder(d = inner_d, h = height - bottom_thickness + 0.01);
    }
}

module handle() {
    // XZ 平面に D 字形状を 2D で描き、Y 方向に linear_extrude して厚みを付ける。
    // 描画後、X-Z 平面の 2D を扱うため、いったん XY で描いて rotate([90,0,0]) で立てる。

    handle_outer_h = handle_inner_h + 2 * handle_thickness; // Z 方向の総高さ
    handle_outer_w = handle_inner_w + handle_thickness;     // X 方向の総幅(本体面から外へ)

    z_center = height / 2;
    // 本体外周に少し食い込ませて確実に union
    x_base = outer_d/2 - 1;

    translate([x_base, 0, z_center])
        rotate([90, 0, 0])  // XY平面で描いた図形のY軸→Z軸に立てる
            translate([0, 0, -handle_thickness/2])
                linear_extrude(height = handle_thickness)
                    difference() {
                        // 外形 D 字: 左端(本体側)は直線、右側は半円
                        hull() {
                            // 本体側の直線部(Y軸方向に伸びる細長い長方形)
                            translate([0, 0])
                                square([0.1, handle_outer_h], center = true);
                            // 外側の半円
                            translate([handle_outer_w - handle_outer_h/2, 0])
                                circle(d = handle_outer_h);
                        }
                        // 内側の穴 (D字の内側)
                        hull() {
                            translate([handle_thickness, 0])
                                square([0.1, handle_inner_h], center = true);
                            translate([handle_thickness + handle_inner_w - handle_inner_h/2, 0])
                                circle(d = handle_inner_h);
                        }
                    }
}

union() {
    mug_body();
    handle();
} パラメータ (7) —
スライダを動かすと openscad-wasm で再レンダリング
iteration chain
各 iteration step は独立した benchmark run です。parentRunId で前段にリンクします。
← parent 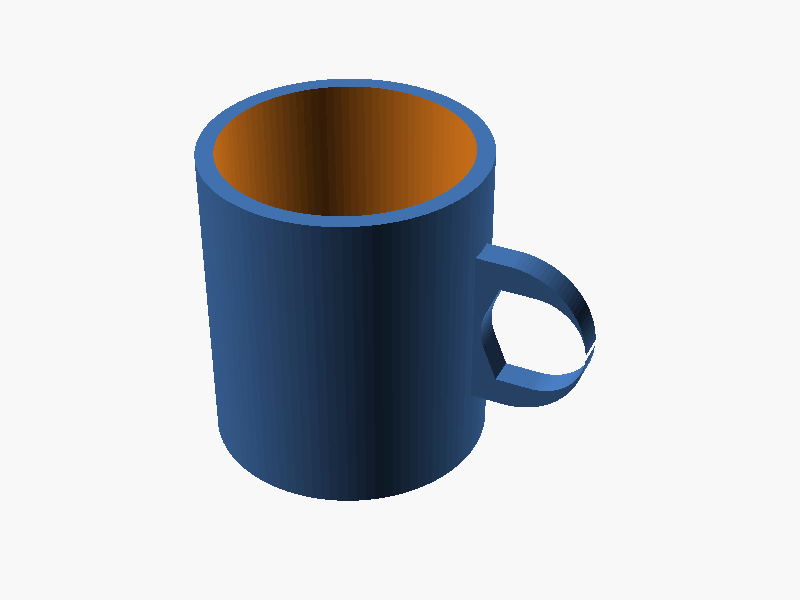
iter-png-1/claude-opus-4-7 success → children (1)
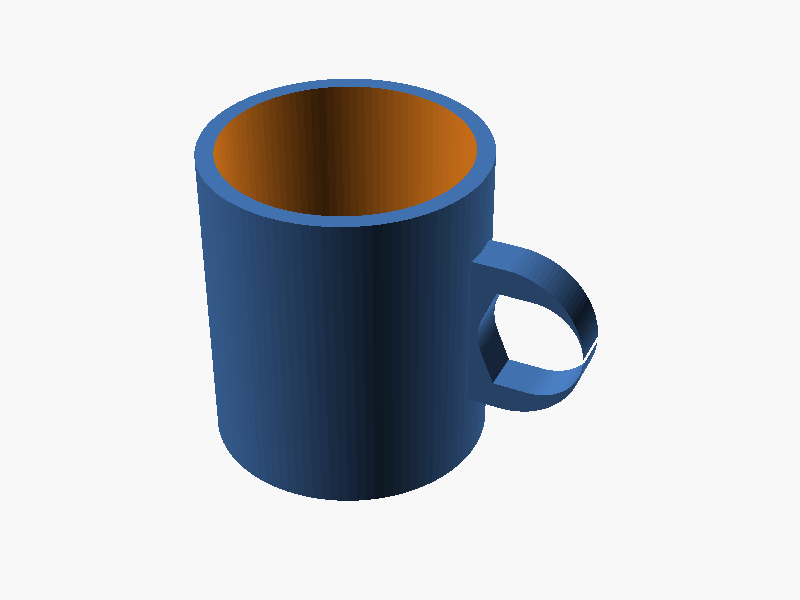
prompt
OpenSCAD で、向きが指定されたマグカップを作ってください。

本体:
- 外径 80mm、内径 70mm(肉厚 5mm)、高さ 90mm の円筒形マグ
- 底面の厚みは 6mm
- 内側は飲み物を入れられるよう中空

取手(handle):
- マグの **+X 軸方向の側面のみ** に付ける(他の方向には付けない)
- 取手は D 字形状(外側が半円、本体側が直線)で、本体外周にしっかり接続する
- 取手の内側の空間は高さ 30mm × 幅 25mm(指 3 本ぐらい入る)
- 取手はマグの高さ方向の中央付近に付ける
- 本体と取手は確実に union され、マニフォールド(隙間や宙吊りなし)を保つ

完成したコード全体を ```openscad ... ``` のフェンスで囲んで出力してください。コードのみで、追加の説明は不要です。